10 Steps to Better Photos of your Listings
If you’re like most agents, photography is the last thing your thinking about for your listings. Managing clients, hosting showings, and performing closings take precedence over snapping a few photos. The bad news is that sellers expect you to make great photos of their home — they want it to sell, and sell fast.
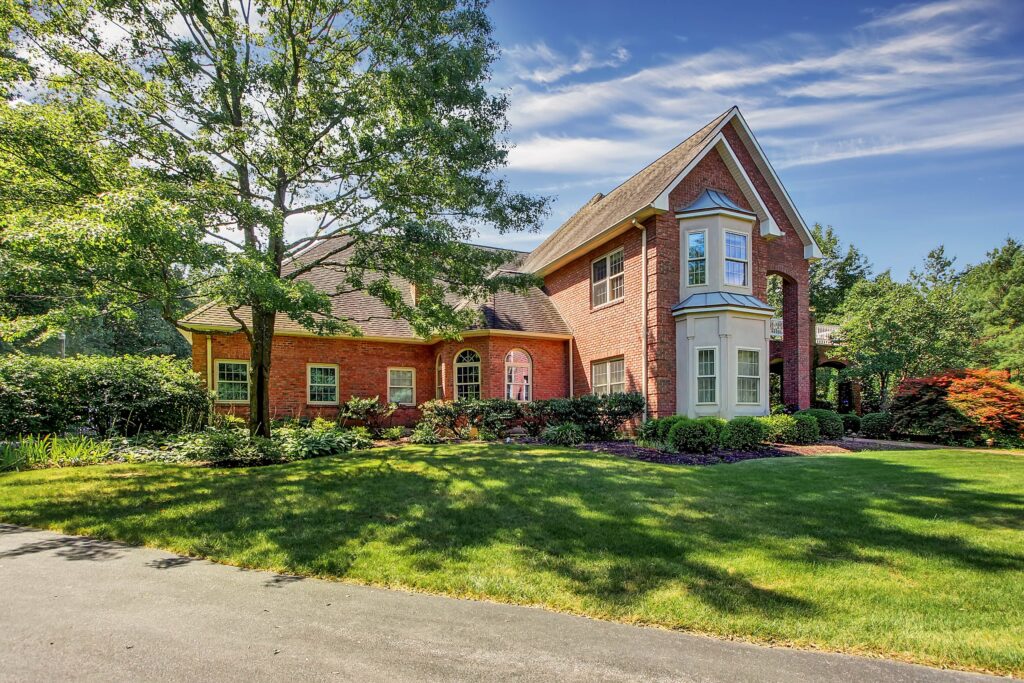
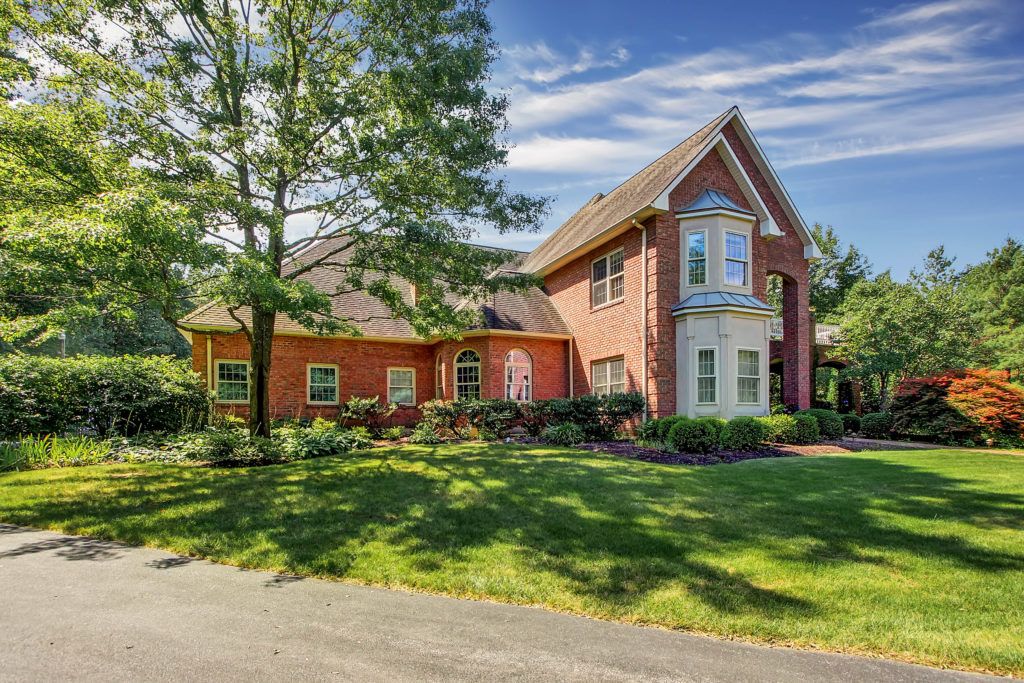
1. Make a Dynamic Front Shot for Real Estate Photos
Everyone knows (and there are studies that prove this) the front of the home is the most interesting and viewed image by buyers. It is critical that you get this image right! Make sure you balance the light, find the most attractive angle, don’t show too much driveway, and have a correct perspective when taking this shot. Keep in mind that a sunny day with a blue sky and a beautiful lawn makes the home you are about to list all the more appealing.
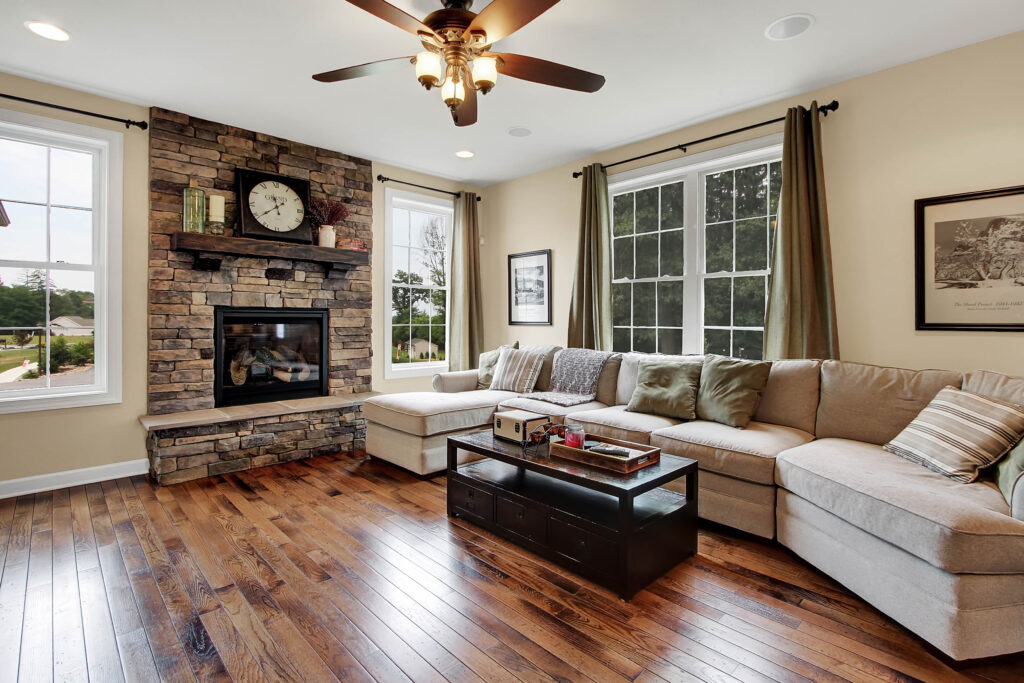
2. Positioning Matters in Real Estate Photography
As mentioned above, you want to make sure you are positioning your photos well. In architecture terms, this is called point perspective. When photographing homes, single point perspective tends to work the best. The easiest way to capture this is to only include one corner of a room in every photo — or a single point where the lines of the walls will draw the eye into the photo. Then remember a basic rule of thirds, but the corner of the room in the third of the frame. By placing this point in the left or right third you will have a more dynamic photo.
3. Expose Properly
Exposure is critical to a home’s representation! Make sure the windows are not completely white, nor the corners of a room completely dark. Buyers want to see the home properly exposed so they can get a feel for the natural light and space they will be living. They should be able to see through windows to the view outside and at the same time see the interior wall’s true color. You may find it hard to make the windows clear and keep the room from going dark — in this case take a High Dynamic Range photograph. HDR images allow for more depth in the exposure and are truer to how the eye works. Click here to see the difference correct exposures makes.
4. Pay Attention to Light Color
Ever photograph the interior of a home only to see that there is blue light coming from the windows and yellow light coming from a lamp? This is because different lights have different ‘temperatures.’ To combat this you need an editing program. There are many free programs, but the industry standard is Photoshop. Fortunately for the realtor on the go, Photoshop makes a mobile version. In Photoshop you can add filters and correction layers to change light colors in your photos. After all, buyers want to see pictures of a home the way they would see it in person.
5. Keep Your Camera Level
Some of the worst photos aren’t due to the light conditions or color, but due to the fact that the camera was not level. Take pride in how you represent yourself and your seller’s home by holding the camera level! Professionals use bubble levels on their tripods. Fortunately, technology has also advanced and most phones and cameras allow you to display a grid or a horizon line that will keep your camera level with the ground.

6. Correct Perspective Distortion
A great example of perspective distortion is called keystoning. Keystoning is when a building narrows in a photograph because the perspective is shot from the ground up. This is not a good look for homes. To combat this, keep your camera level then back away from the home as much as possible to make the house look as upright as possible. For interior rooms, try moving the camera up or down until the far walls no longer slant.

7. Photograph Most Rooms Horizontally
It’s tempting to shoot verticals due to the nature of handheld devices. But when photographing real estate you want to show as much of the room as possible. Most often this means a horizontal image. The human eye does not naturally see in portrait nor do computer monitors display in portrait. That being said there is always an exception to the rule. Very small rooms like a laundry room or powder room are best photographed in the vertical position! Look at this gallery to get some ideas on how to photograph a home.
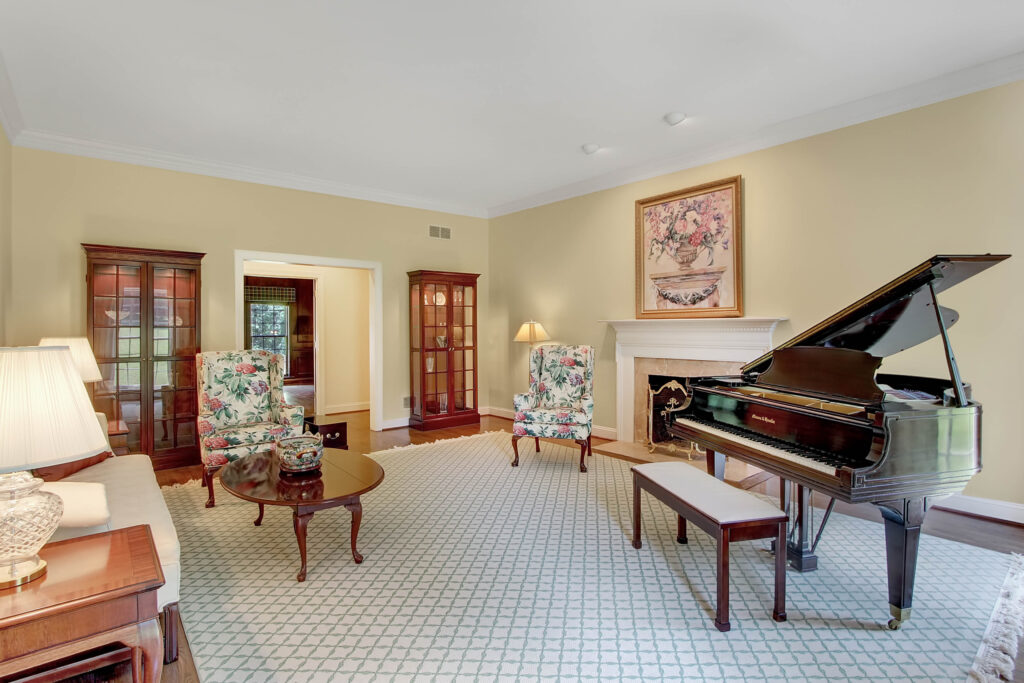
8. Clean Up & Simplify Rooms Before Photographing
The age old adage is true, less is more! This is especially true in real estate photography. Removing unwanted clutter from the room before photographing will give the room a higher-end feel. For kitchens, watch out for too many magnets on the fridge, and remove small appliances from counters. In living rooms remove family photos — you may not want your family’s faces all over social media! Clean up excess toiletries in bathrooms or books and nick-nacks around bedrooms. Even something as simple as rearranging or removing furniture can make a room look bigger and less cluttered. Click here for more tips on how to prepare a home for photography.
9. Crop Out Unwanted Edges
No matter how hard you try there always seems to be door frame or a corner of a wall at the edge of your photo. If you can be conscious of this when taking photos, it will save you time cropping them out later. These vertical lines can be distracting and should be removed. The result is a more interesting image with a better perspective and less distractions.
10. Edit Edit Edit
Perhaps the most important part of photographing your listing photos is the editing. Never just upload the images to MLS or social. Instead take a little time to edit them with a program like VSCO, Snapseed, or Filterstorm Neue. Photoshop even has a mobile app that you can get on your iPhone and do touch ups! There is no excuse anymore for dark images or photos with bad color. And now that you’ve read this post, there’s really no excuse for bad images at all!
Seems Like A Lot of Work
If this sounds challenging and time-consuming, it’s because it is! Creating great photography is an art as much as it is a craft. Your job as a Realtor is to sell houses, not to be a photographer. If you would like help with your photography our company has a simple process to get you professional photos proven to sell your listings faster and for more money!
Contact us today to schedule your session – we are happy to answer any questions!

[spacer height=”20px”]If you would like to request information regarding a photography for your next listing, simply fill out the form below:
[gravityform id=”1″ title=”false” description=”false”]
Recent Blogs

May 23, 2023
The Power of Visual Storytelling: How Professional Real Estate Photography Can Boost Your Sales
May 19, 2019
Networking Tips for Real Estate Agents
May 11, 2019
Negotiation Tips for Real Estate Agents
May 7, 2019